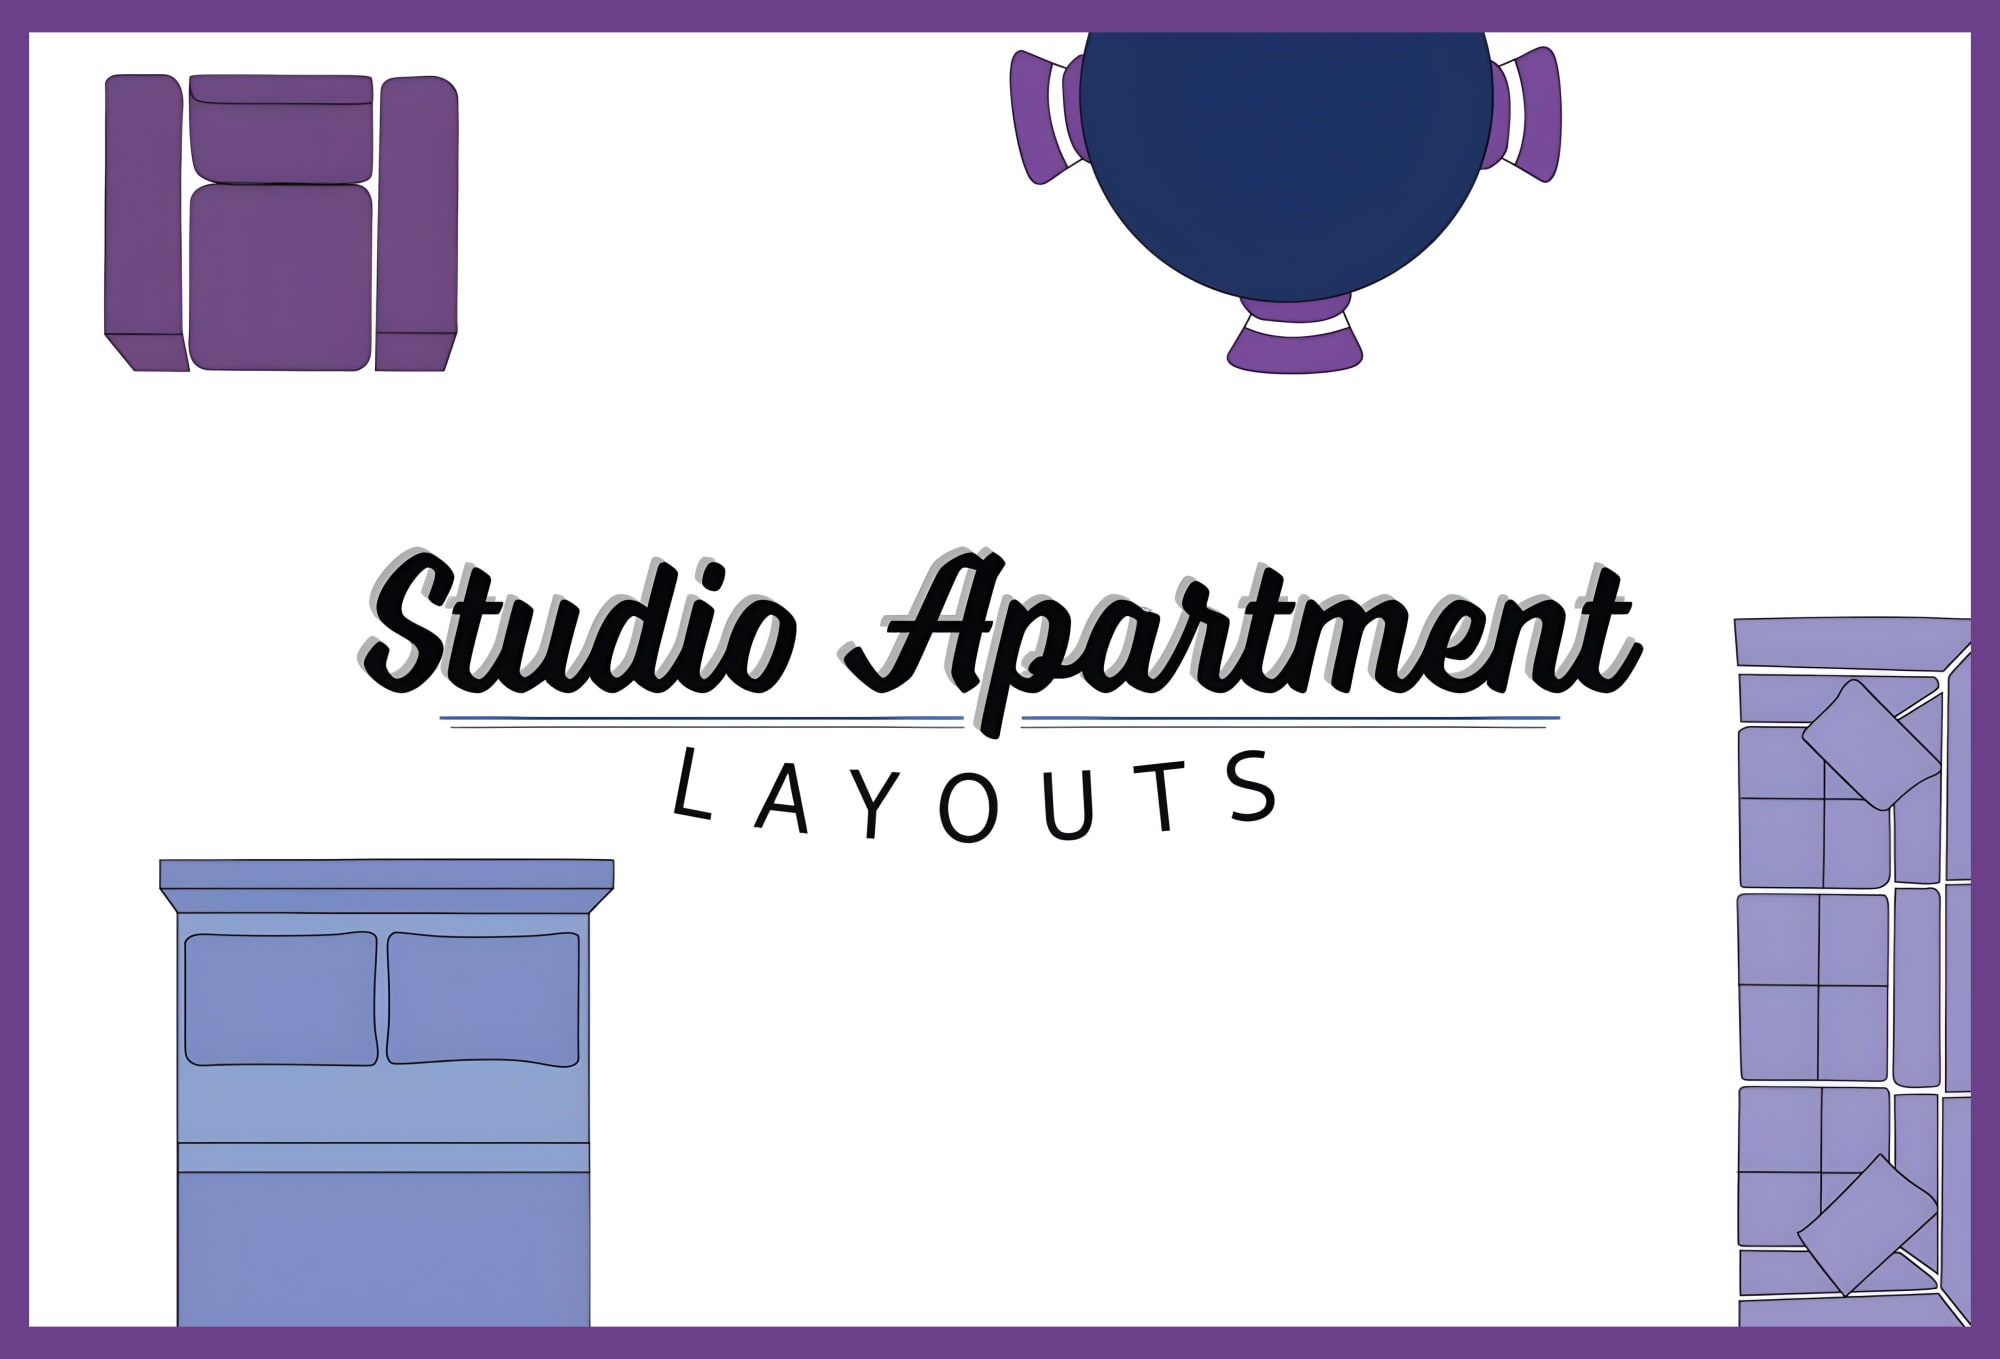
Studio Apartment Layout Guide
Living in a studio apartment doesn’t mean sacrificing style or functionality. With a little creativity, you can transform your one-room home into a space that feels open, organized, and perfectly tailored to your lifestyle. Whether you’re an entertainer, a student, or someone who loves to lounge, we’ve got you covered with four smart and stylish layout ideas.
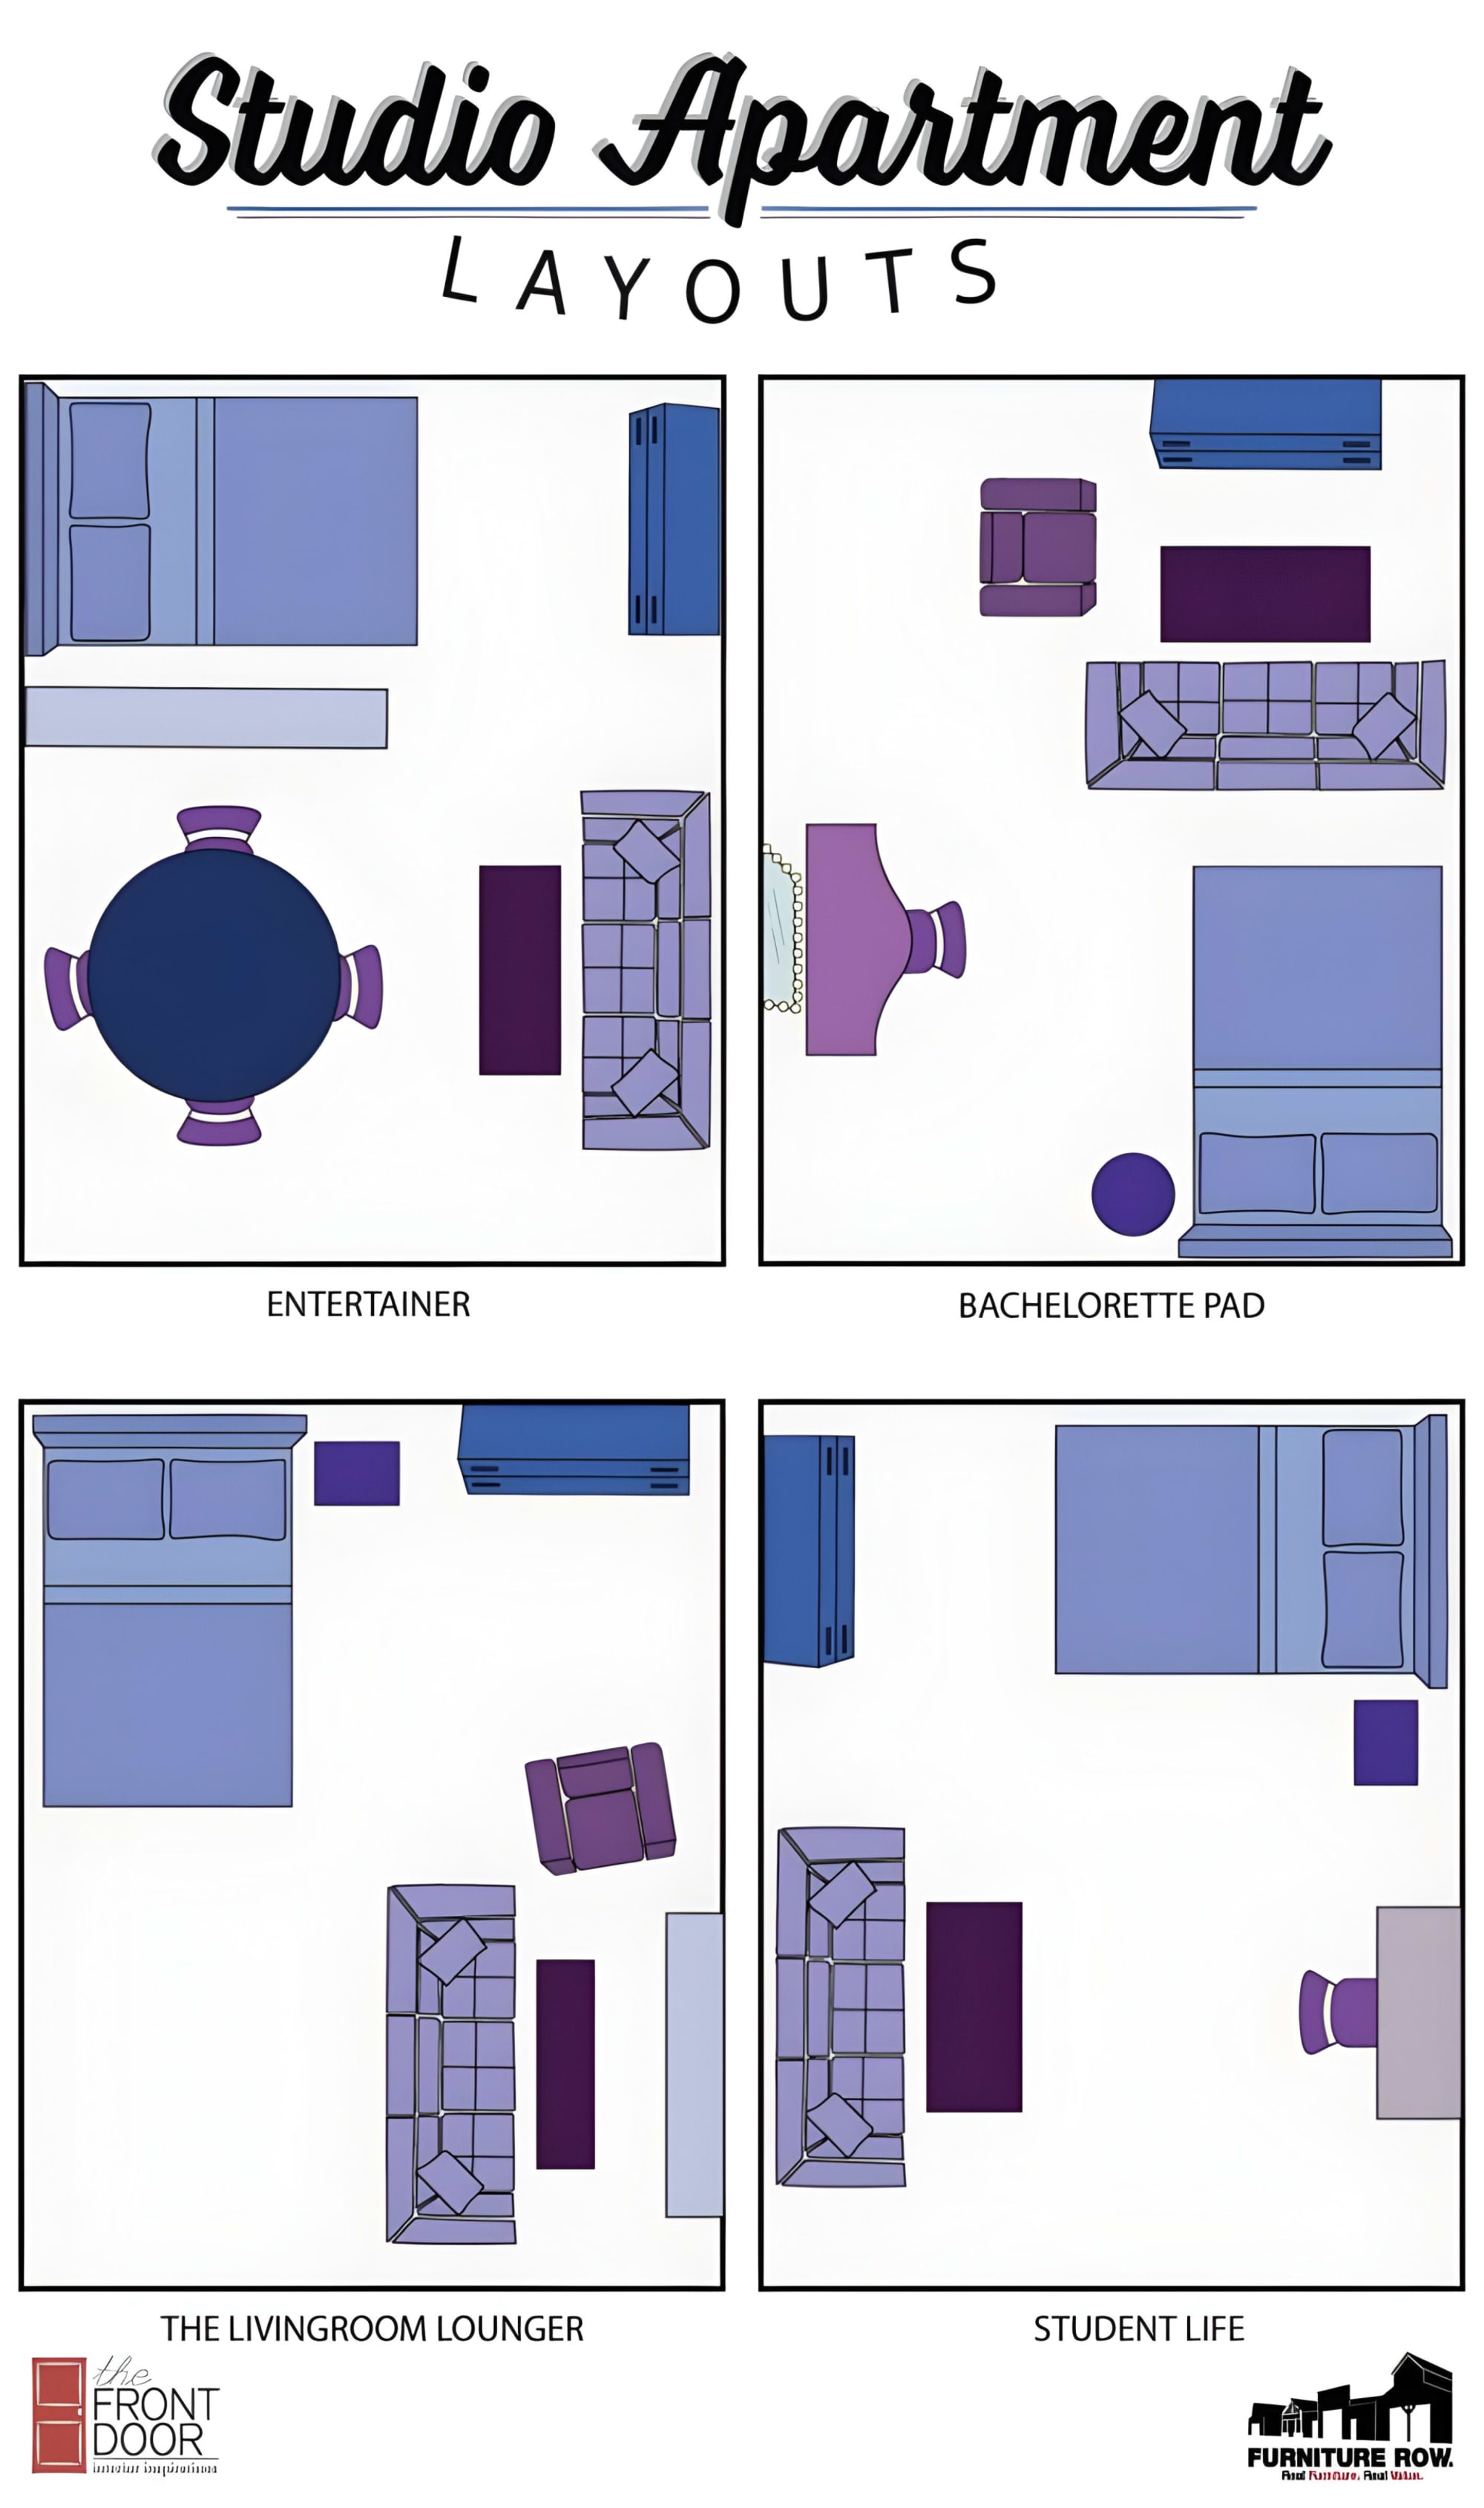
Layout 1: The Entertainer
Love hosting friends? This layout is perfect for creating separate living and sleeping spaces while maintaining an inviting atmosphere for guests.
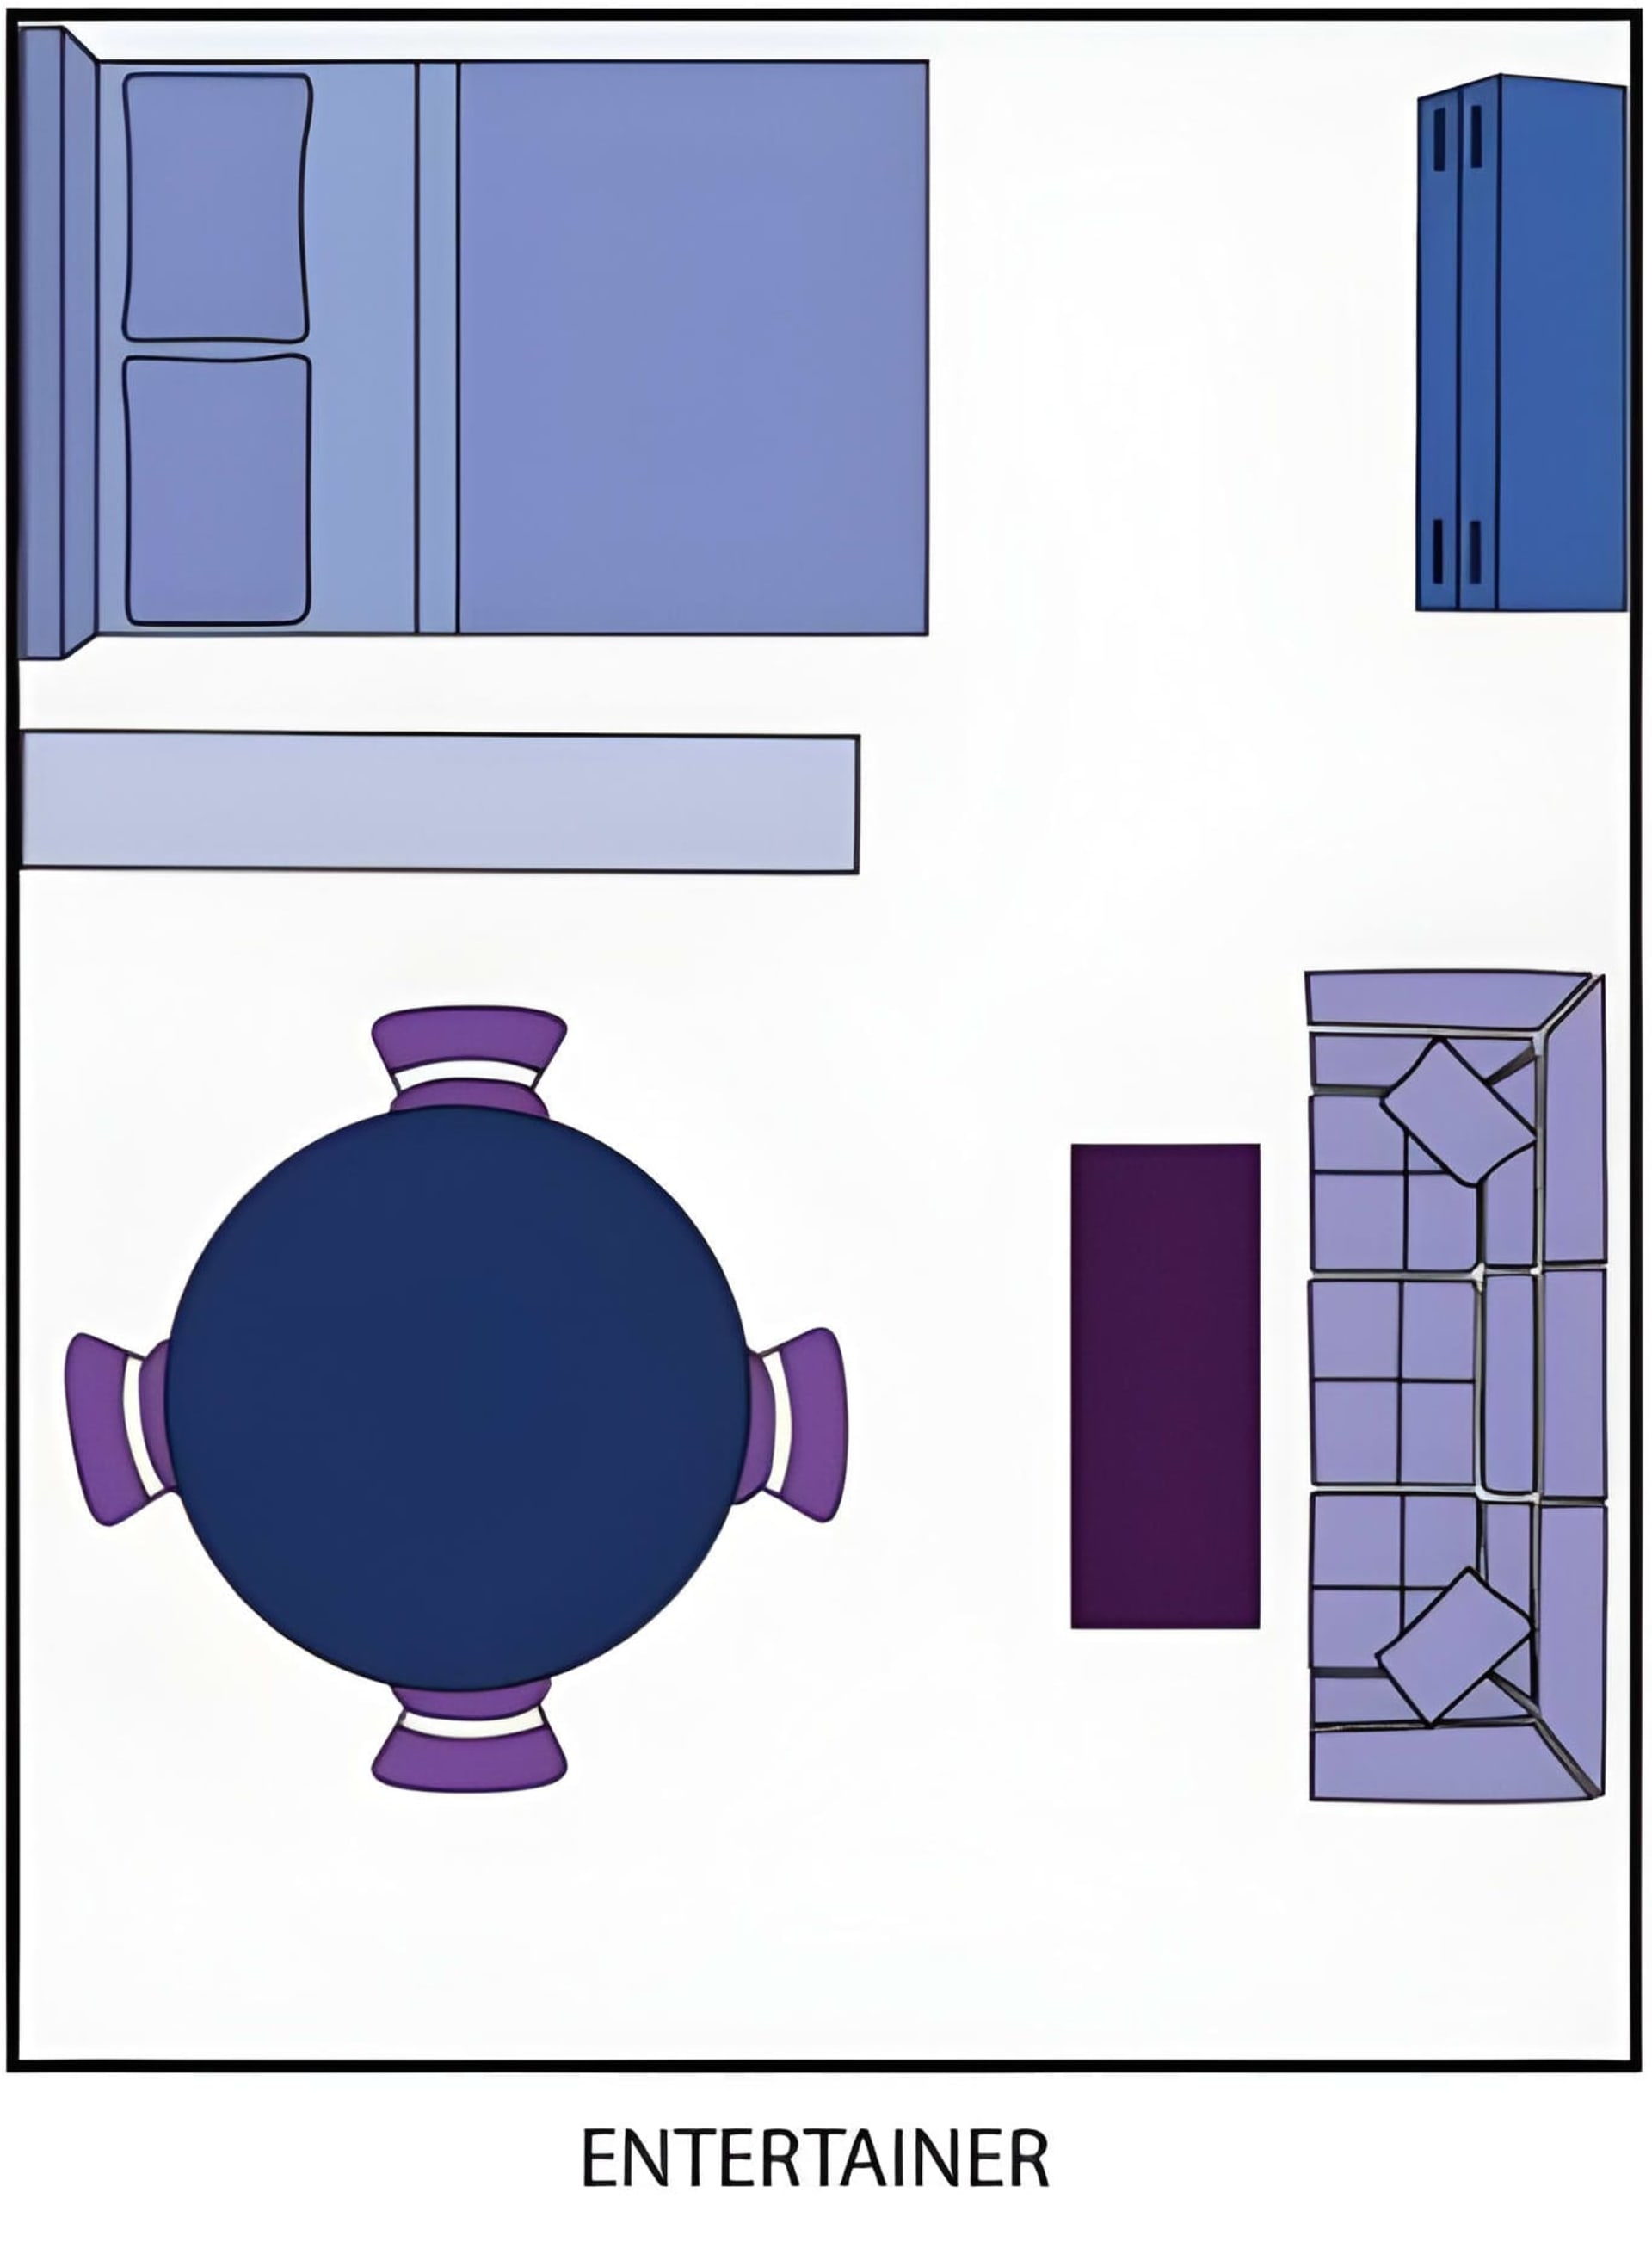
How to Arrange It
- Use bookcases, screens, or curtains to separate your "bedroom" from the living-dining area.
- Place a standard dining set near the living room for a dedicated eating space.
- Position the sleeping area in the back corner or against a far wall to maximize privacy.
- Keep the living area furniture angled toward the center to create a welcoming conversation zone.
Tips & Recommendations
- For dividers: Renters can opt for portable room dividers or tall bookshelves (at least 5-6 feet high), while owners might consider installing sliding doors or drywall for permanent separation.
- For dining tables: In smaller spaces, try a counter-height table or a round table that can be tucked against the wall when not in use—aim for at least 30 inches of clearance around the table for comfortable seating.
- For flexibility: Keep furniture lightweight (avoid heavy wood pieces) and choose items on casters or with legs for easy repositioning during gatherings.
- For visual flow: Use a consistent color palette across both zones to maintain cohesion while still defining separate areas.
This layout ensures your studio feels spacious yet cozy when hosting gatherings.
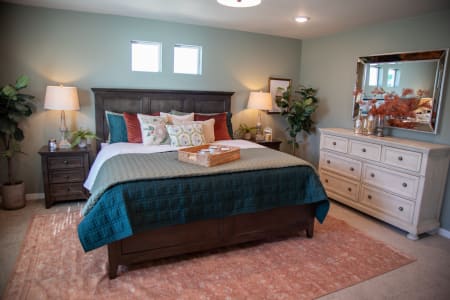
Layout 2: The Bachelorette Pad
Chic and functional, this layout is all about refined style and multipurpose furnishings.
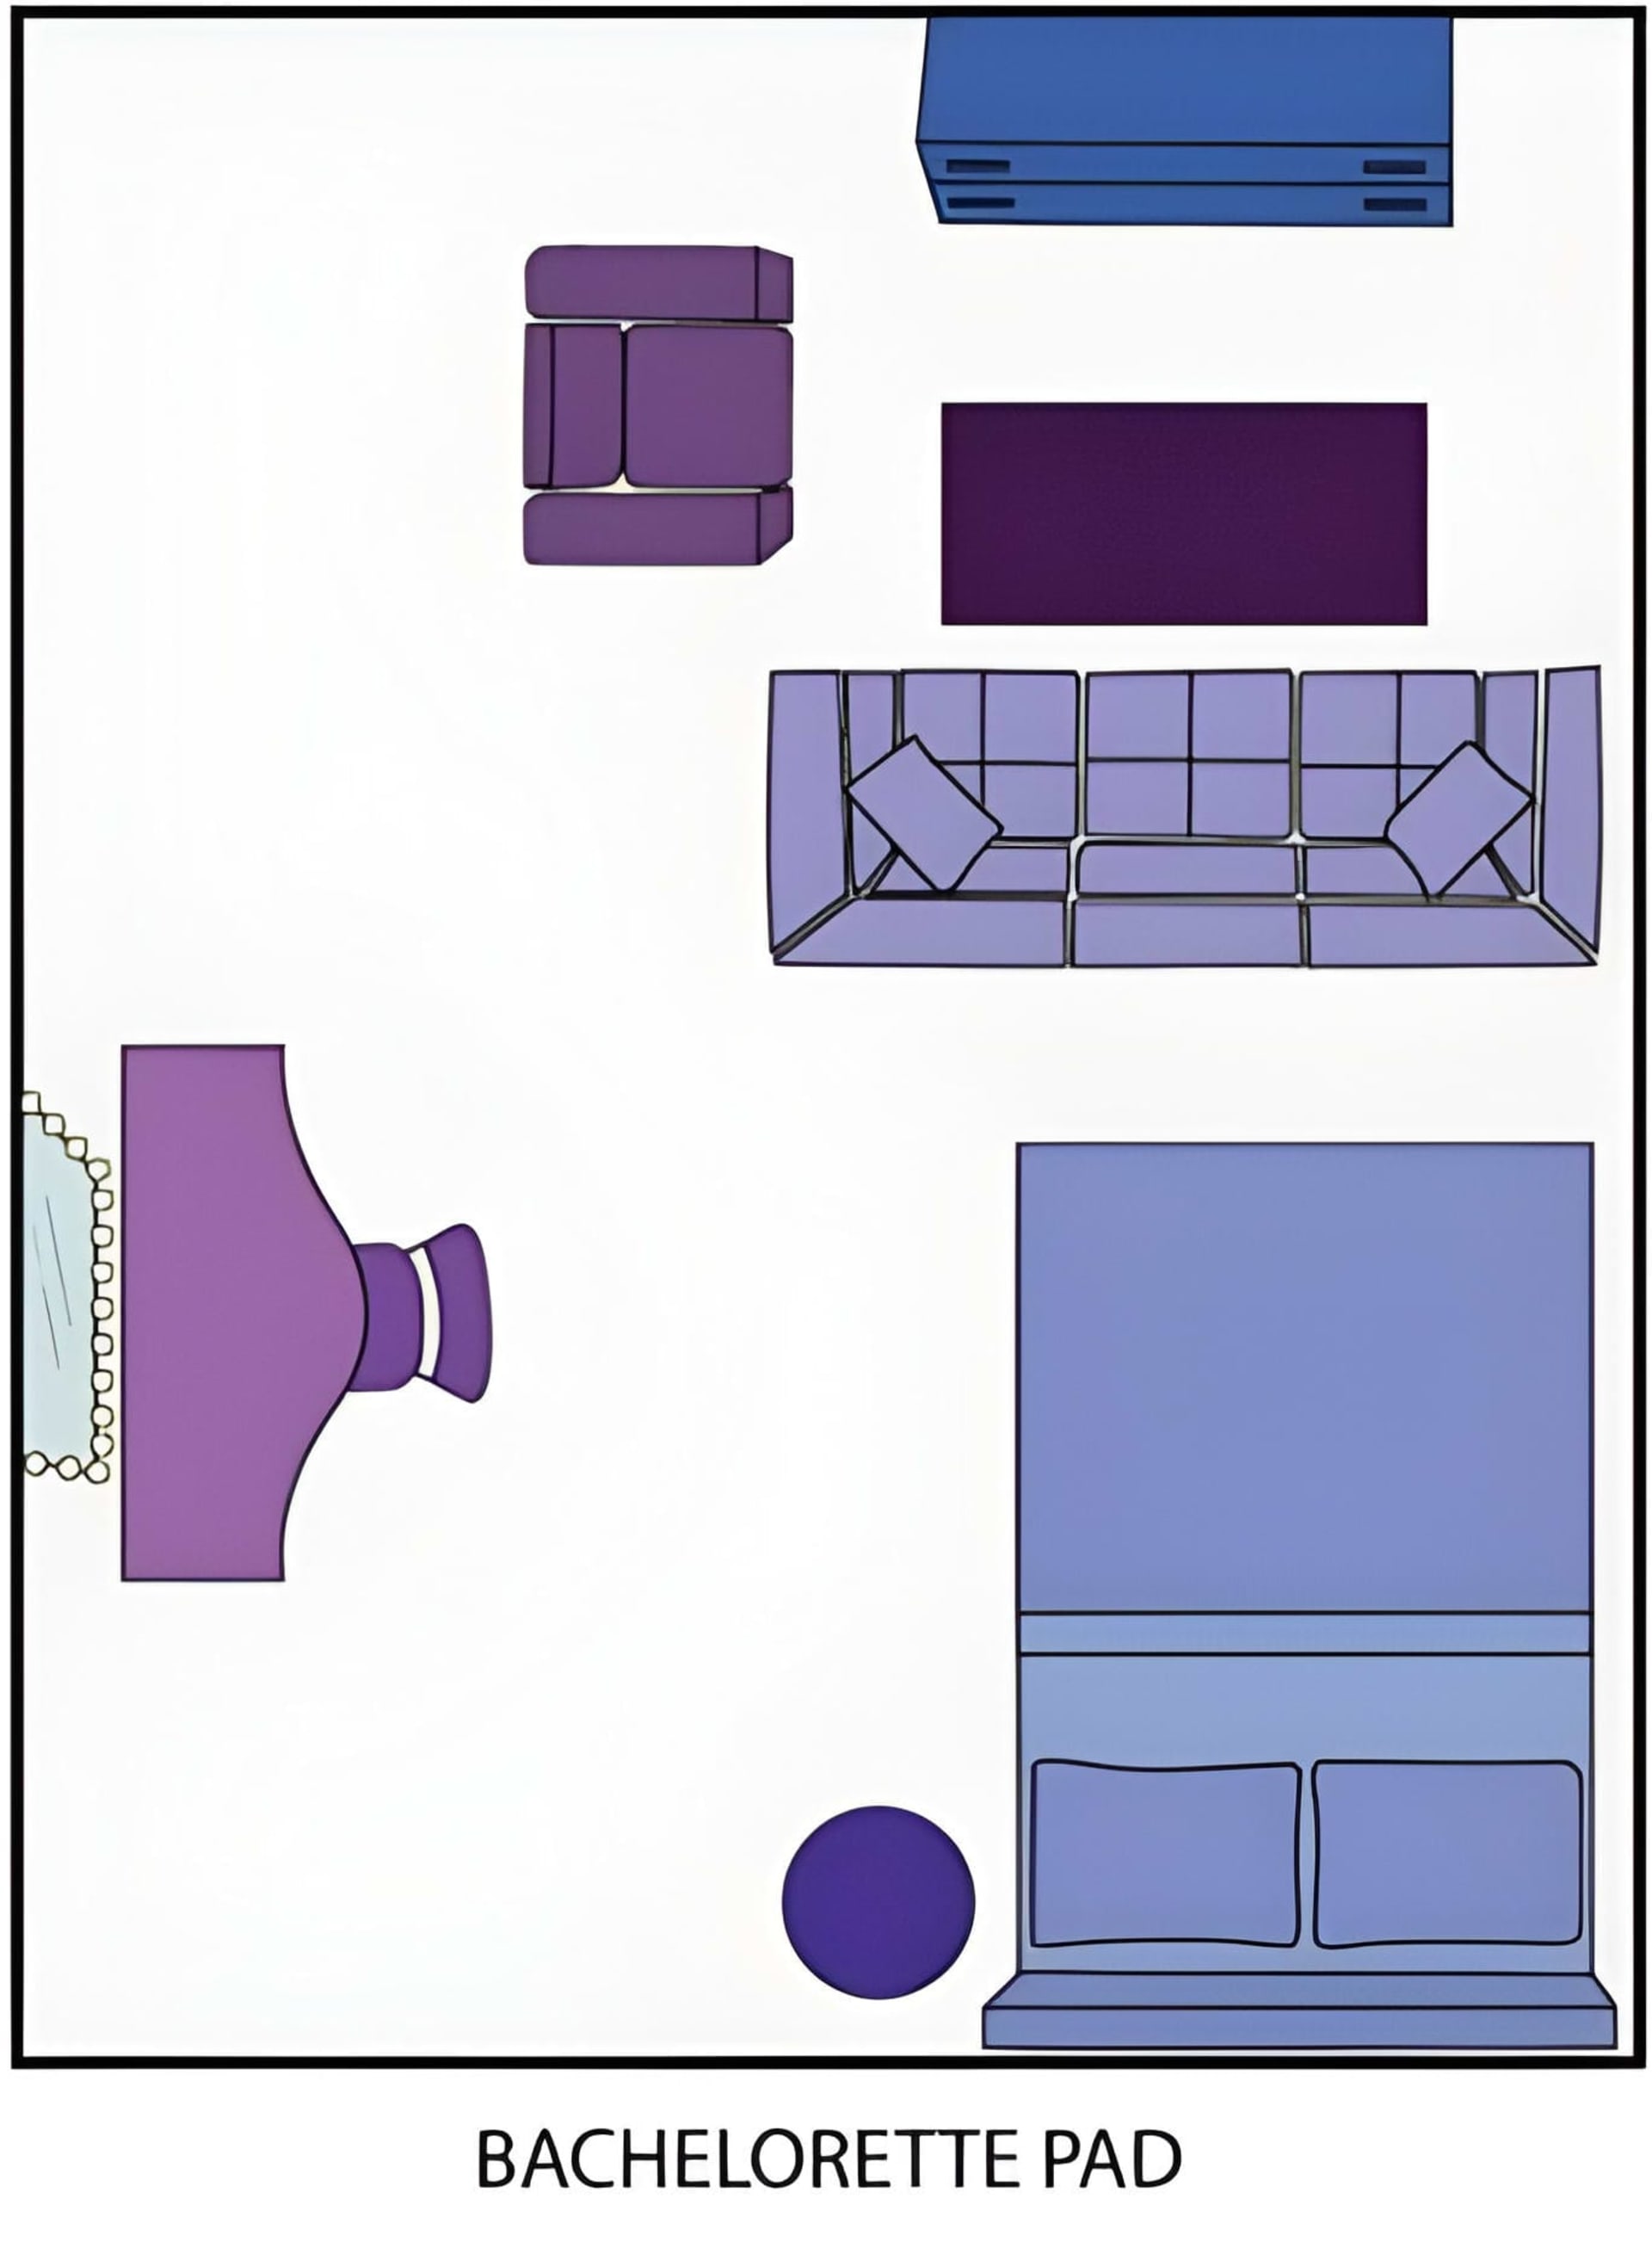
How to Arrange It
- Create a glamorous "bedroom" area with a vanity that doubles as a desk.
- Pair the vanity with a sophisticated chair to elevate the look.
- Use your dresser as a bedroom TV stand to maximize space while keeping things sleek and organized.
- Position the bed against a wall to define the sleeping zone.
Tips & Recommendations
- For vanities: Look for pieces with built-in storage drawers or shelving—aim for at least 36-48 inches wide to accommodate both makeup essentials and laptop workspace.
- For dressers: Choose low-profile styles (under 40 inches tall) that won't block sightlines and can comfortably hold a TV without feeling top-heavy.
- For chairs: Opt for upholstered accent chairs or velvet desk chairs that add a touch of luxury while remaining functional for both work and beauty routines.
- For overall style: Stick to furniture with clean lines and neutral tones (whites, beiges, grays) to maintain an airy feel—add personality through accessories like mirrors, lamps, and decorative trays.
This layout is ideal for anyone who wants their studio to feel like a personal sanctuary.
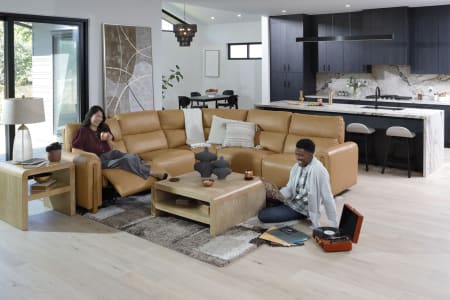
Layout 3: The Living Room Lounger
If relaxing on a comfy couch with your favorite shows or games is your priority, this layout puts the "living" in the living room.
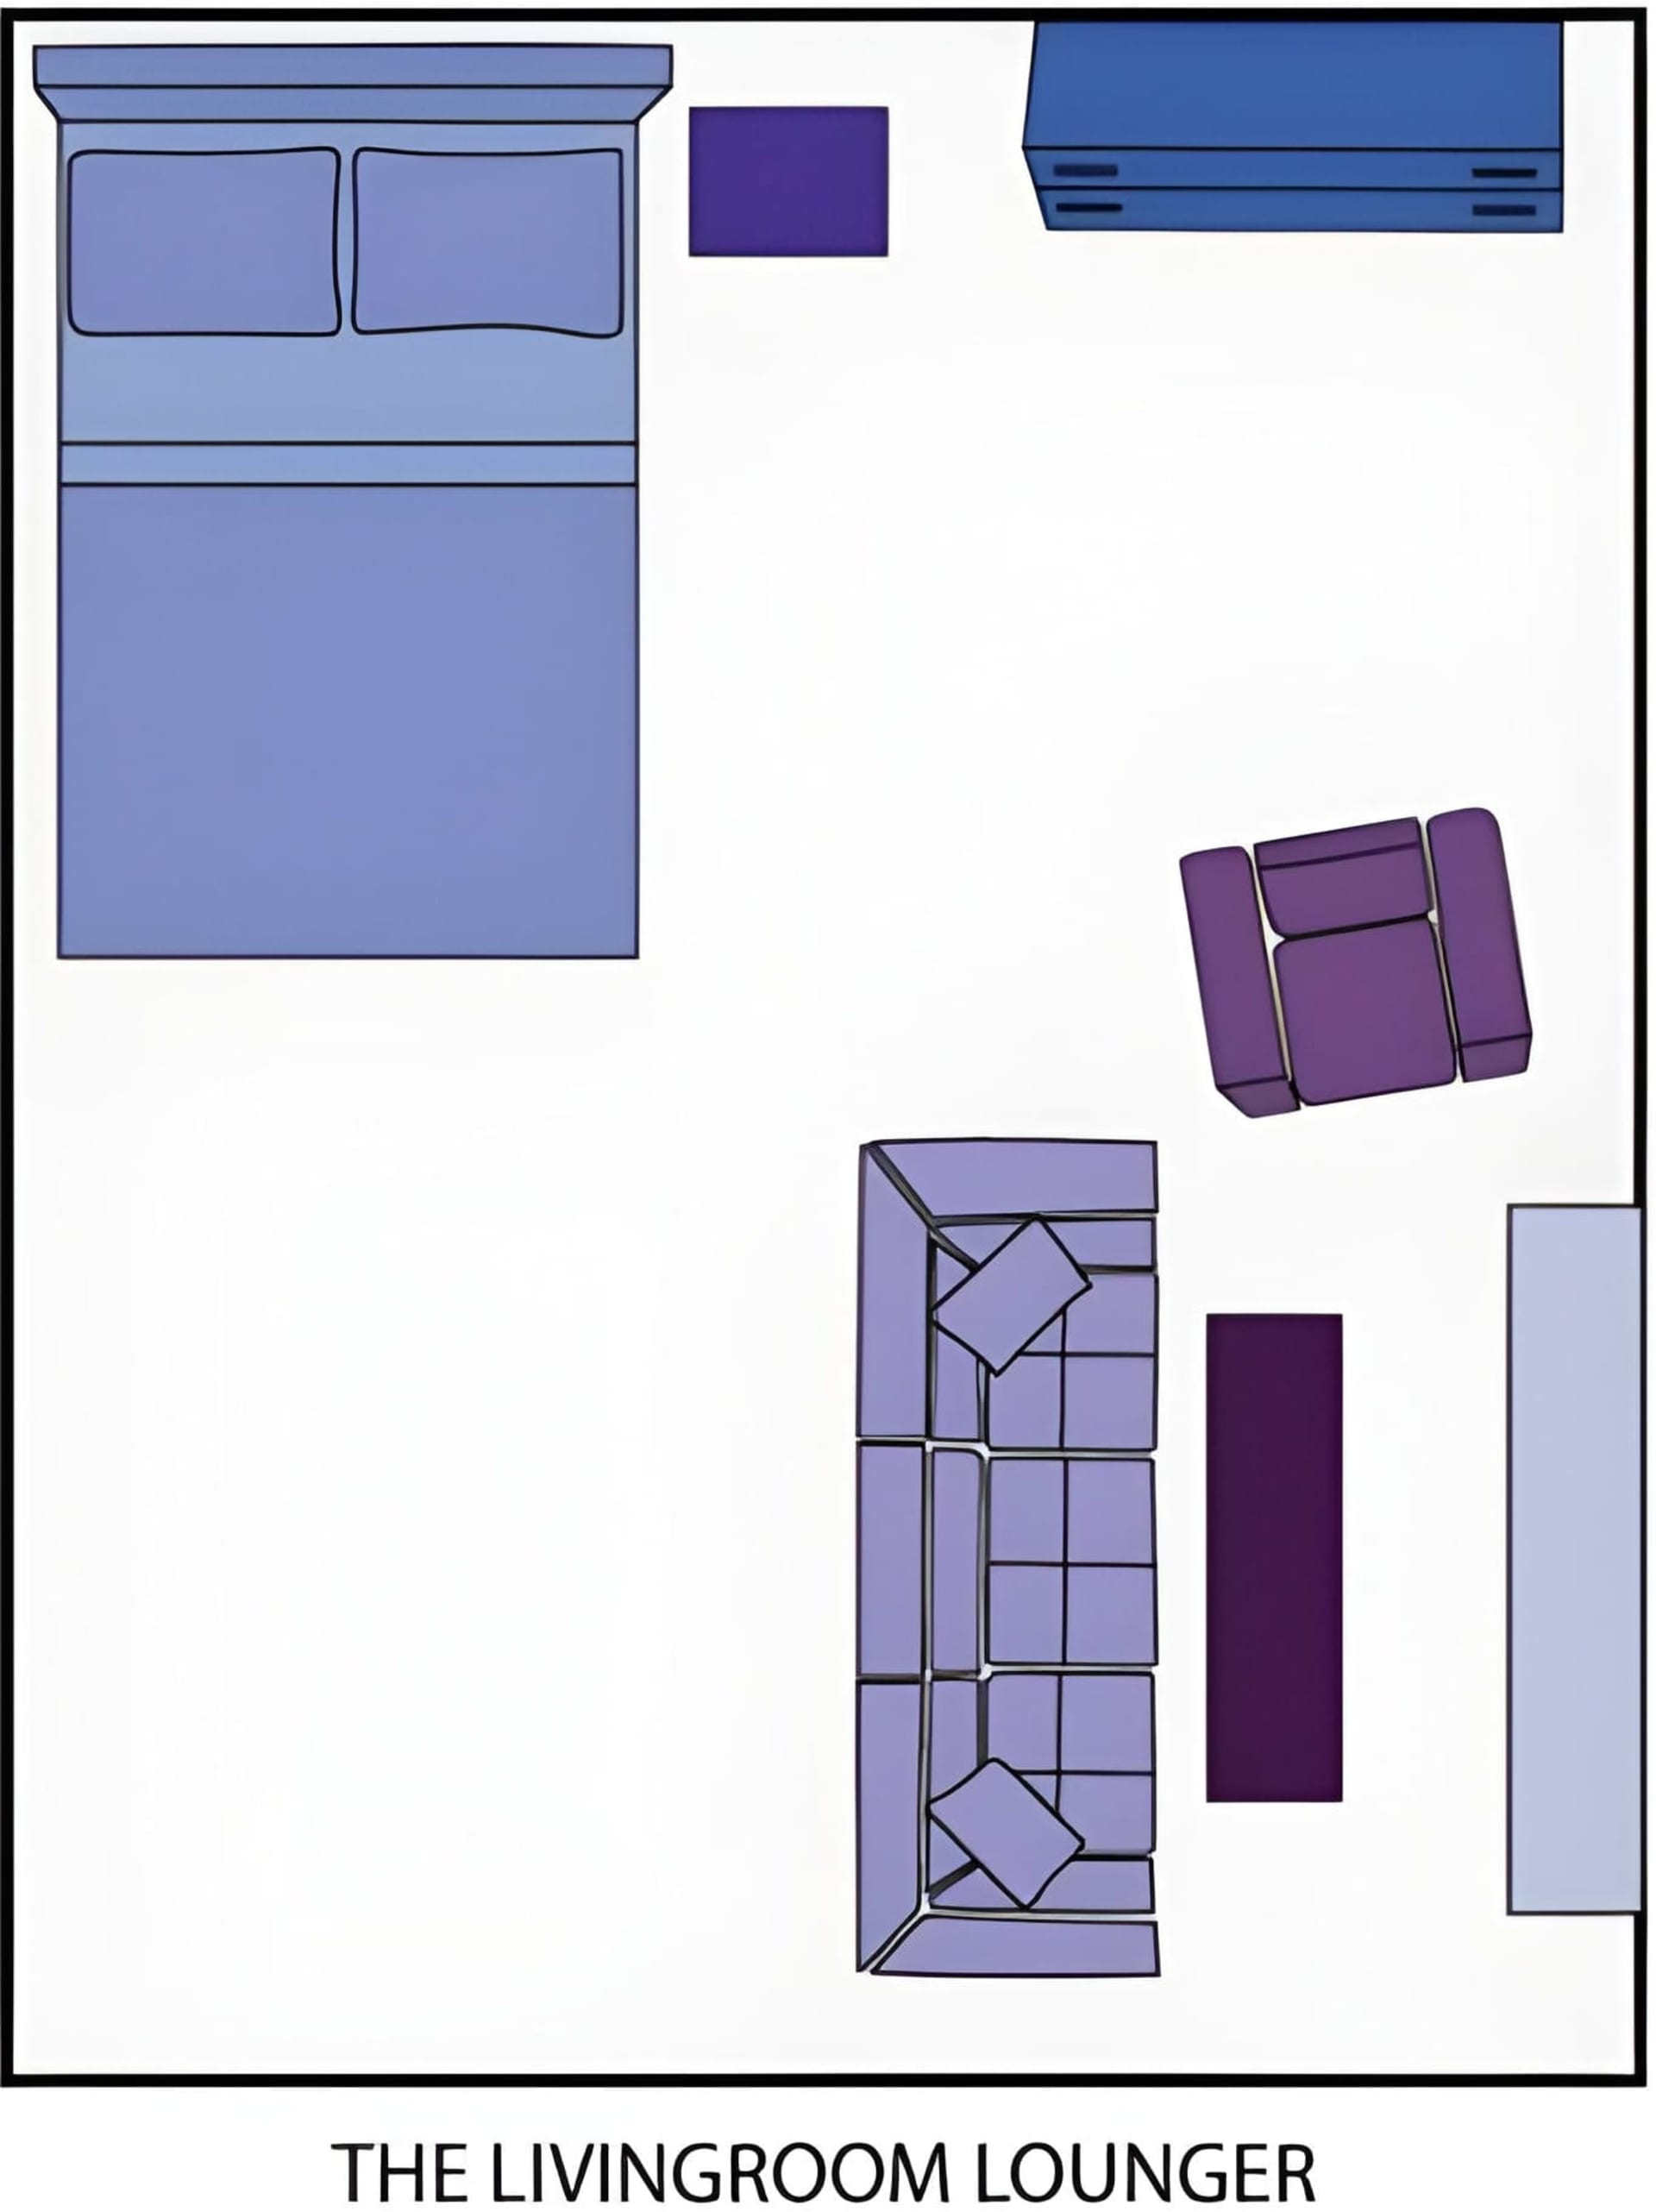
How to Arrange It
- Arrange a right-sized sofa, chair, coffee table, and TV stand as the centerpiece of your space.
- Tuck the bed into a corner, but keep it open to the living area for additional seating when guests visit.
- Position the television so it's visible from both the couch and bed.
- Create a cohesive entertainment zone by clustering your seating around the coffee table.
Tips & Recommendations
- For sofas: In studios under 400 sq ft, opt for apartment-sized sofas (72-80 inches) or loveseats instead of full-size sectionals to avoid overwhelming the space.
- For TV placement: Mount the TV on the wall to save floor space, or choose a TV stand with storage underneath—position it 8-10 feet from the sofa for optimal viewing distance.
- For coffee tables: Consider nesting tables or ottomans with hidden storage that can be tucked away when you need more floor space.
- For cozy vibes: Layer multiple throw pillows (3-5 on the sofa) and keep a basket of soft blankets nearby for instant comfort—choose textiles in warm tones or plush materials like velvet or faux fur.
This setup turns your studio into the ultimate retreat for relaxation and entertainment.
Layout 4: Student Life
For those balancing school or work in their studio apartment, this layout prioritizes productivity without feeling cramped.
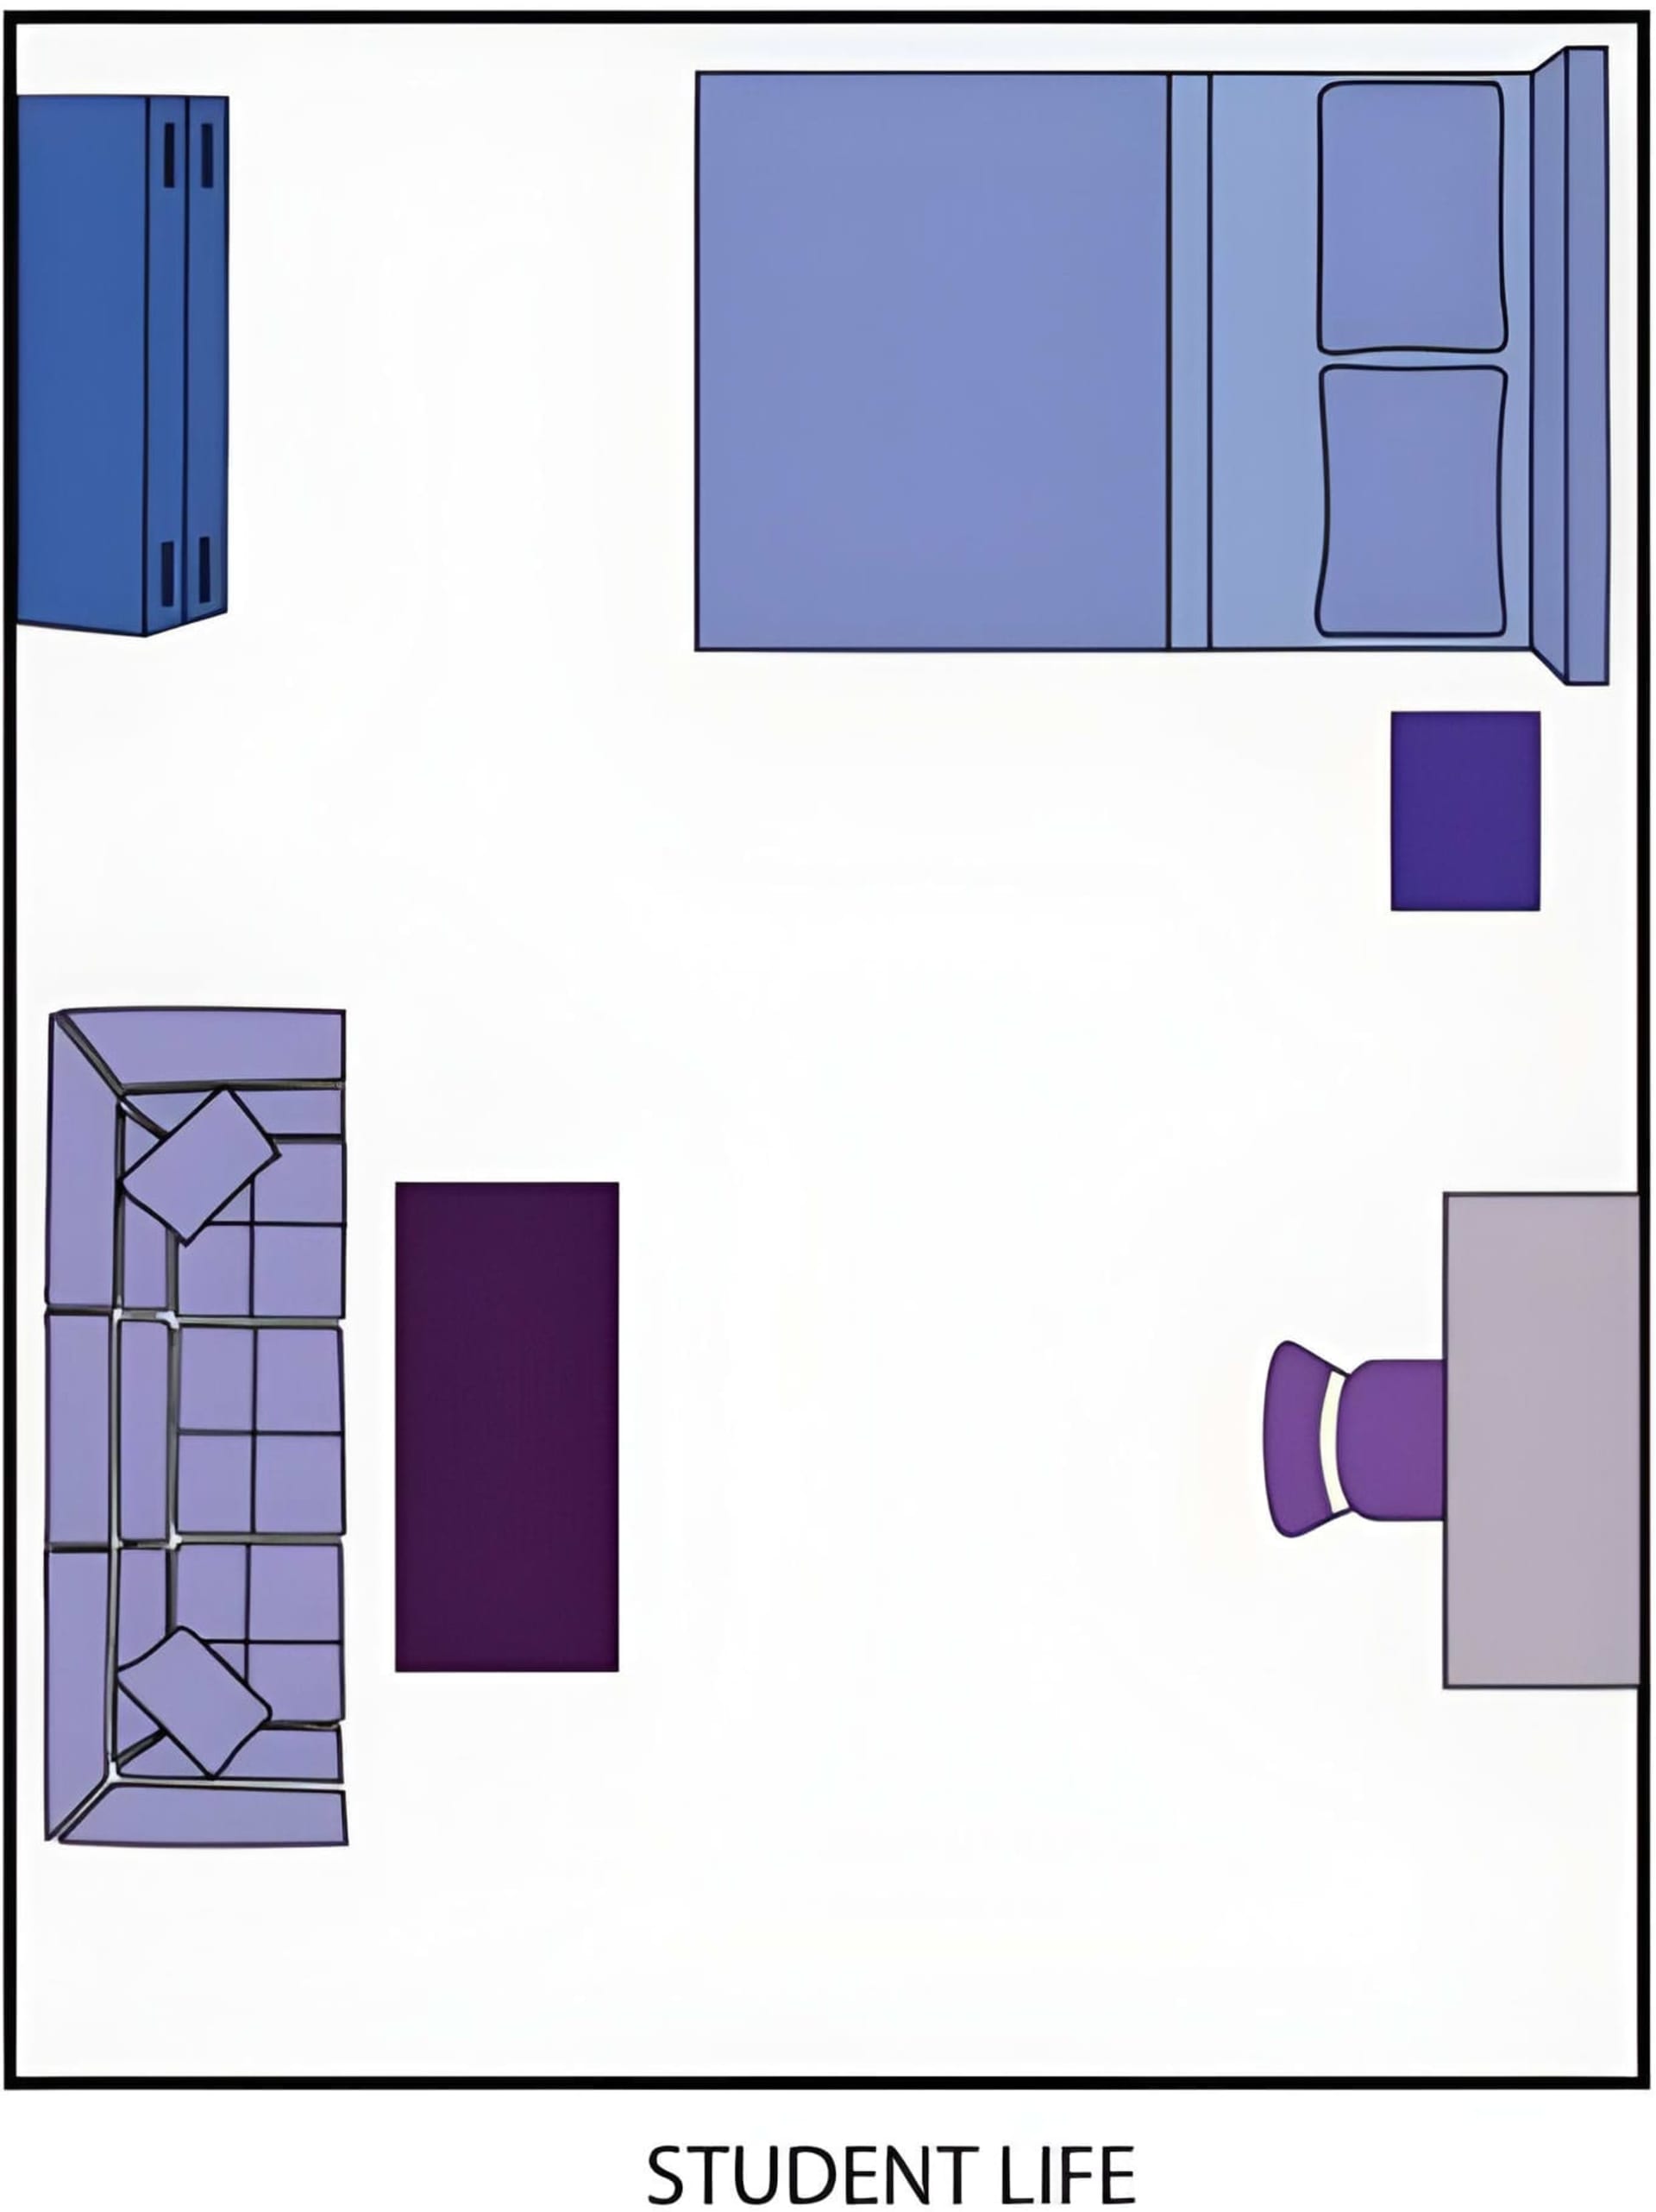
How to Arrange It
- Place a desk near natural light (ideally by a window) to create an inspiring study area.
- Position the bed against the opposite wall to mentally separate work from rest.
- Use a coffee table with a lift-top that doubles as a dining or work surface in the living zone.
- Keep pathways clear and furniture minimal to ensure the space feels open and breathable.
Tips & Recommendations
- For desks: A writing desk is a studio-apartment MVP—its slim, narrow design (usually a simple rectangular top with a drawer or two) adds a dedicated work zone without eating up your floor space.
- For lighting: Add a desk lamp with adjustable brightness and consider a floor lamp near the bed to avoid overhead lighting fatigue during long study sessions.
- For storage: Use vertical storage solutions like wall-mounted shelves or tall bookcases to keep school supplies organized without eating into floor space.
- For multifunctional furniture: Choose a lift-top coffee table that rises to 24-30 inches (standard desk height) or consider a Murphy bed to reclaim floor space during the day.
- For focus: Position your desk so you face a wall or window rather than your bed to minimize distractions while working.
This layout helps you stay focused while making the most of every square inch.
Tips for Studio Apartment Success
No matter which layout you choose, here are some additional tips to make your studio shine:
- Use rugs or furniture placement to define separate zones within your space.
- Opt for multipurpose furniture like storage ottomans or foldable tables.
- Keep decor cohesive with a consistent color palette to make the room feel unified.
With these layouts as inspiration, you can turn your studio apartment into a stylish and functional home. Happy arranging!
Read More Layout Guides
Go to the Blog
Rug Size and Placement Guide
Master area rug size and placement with easy dos and don’ts for living rooms, dining rooms, and bedrooms, plus pro tips for layering.
Bedroom Layout Guide
Design your dream bedroom with four smart layouts—relaxing retreat, multifunctional space, small-space saver, and storage-focused setup—for comfort, style, and flow.

Living Room Layout Guide
Design the perfect living room layout with four easy setups—conversational, family, multifunctional, and activity-based—to maximize comfort, flow, and style.
Rug Size and Placement Guide
Master area rug size and placement with easy dos and don’ts for living rooms, dining rooms, and bedrooms, plus pro tips for layering.
Bedroom Layout Guide
Design your dream bedroom with four smart layouts—relaxing retreat, multifunctional space, small-space saver, and storage-focused setup—for comfort, style, and flow.
Living Room Layout Guide
Design the perfect living room layout with four easy setups—conversational, family, multifunctional, and activity-based—to maximize comfort, flow, and style.